Showing posts with label Bella. Show all posts

Monday, March 13, 2023

Bella - on the Wall

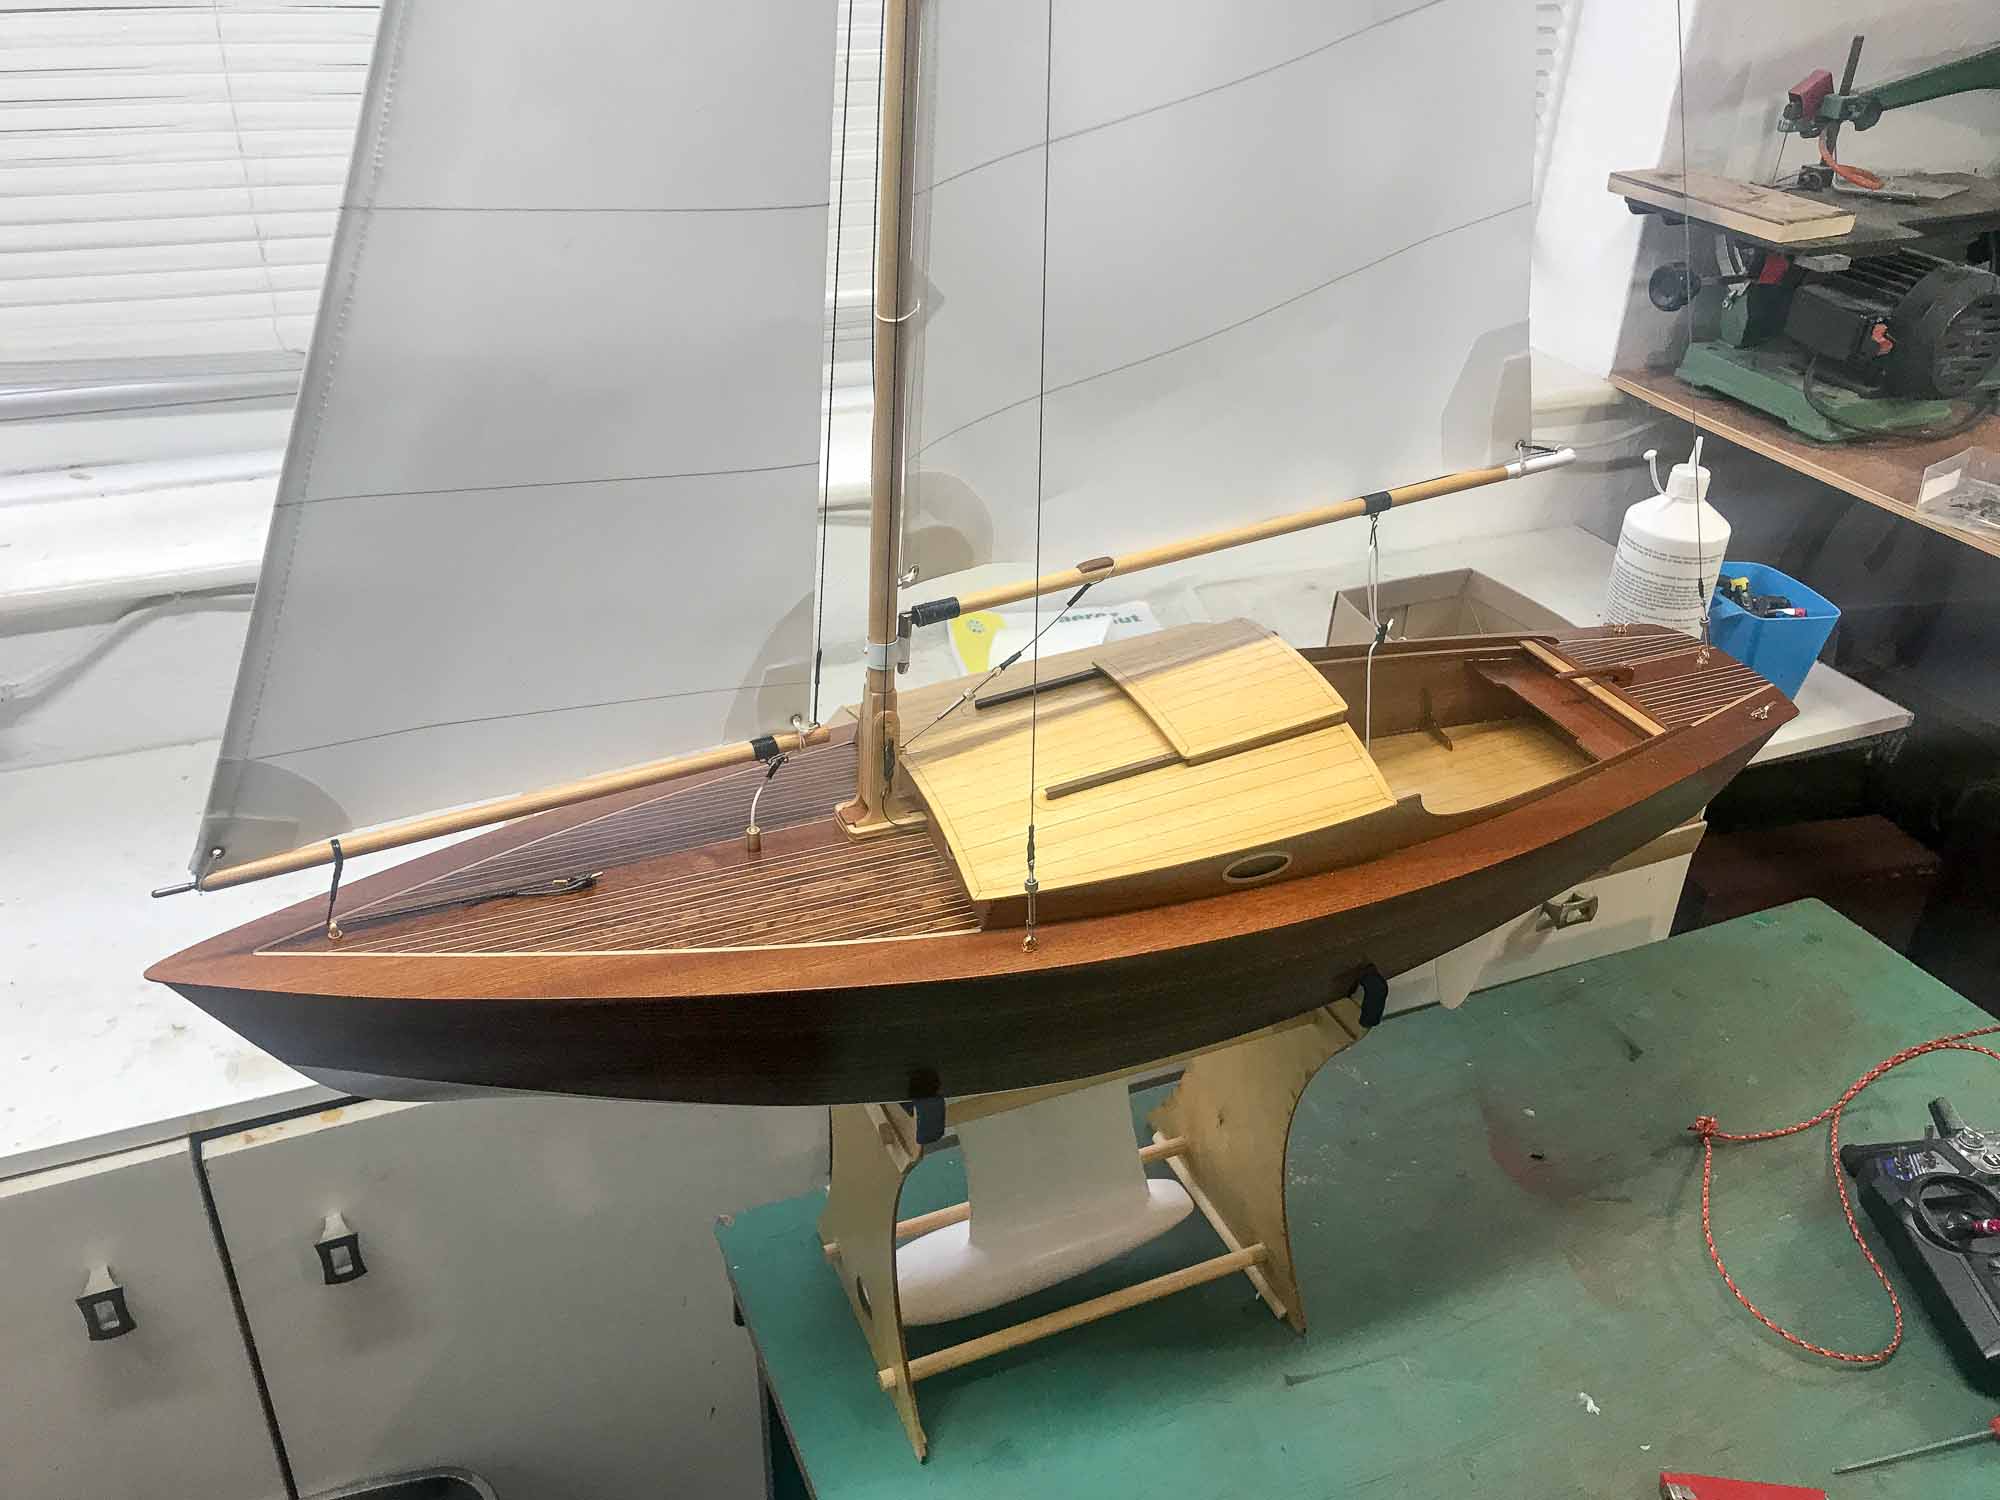
 The model of Bella does build into a attractive boat, so feeling slightly vain, have decided to "hang in on the Wall".




Wednesday, February 15, 2023

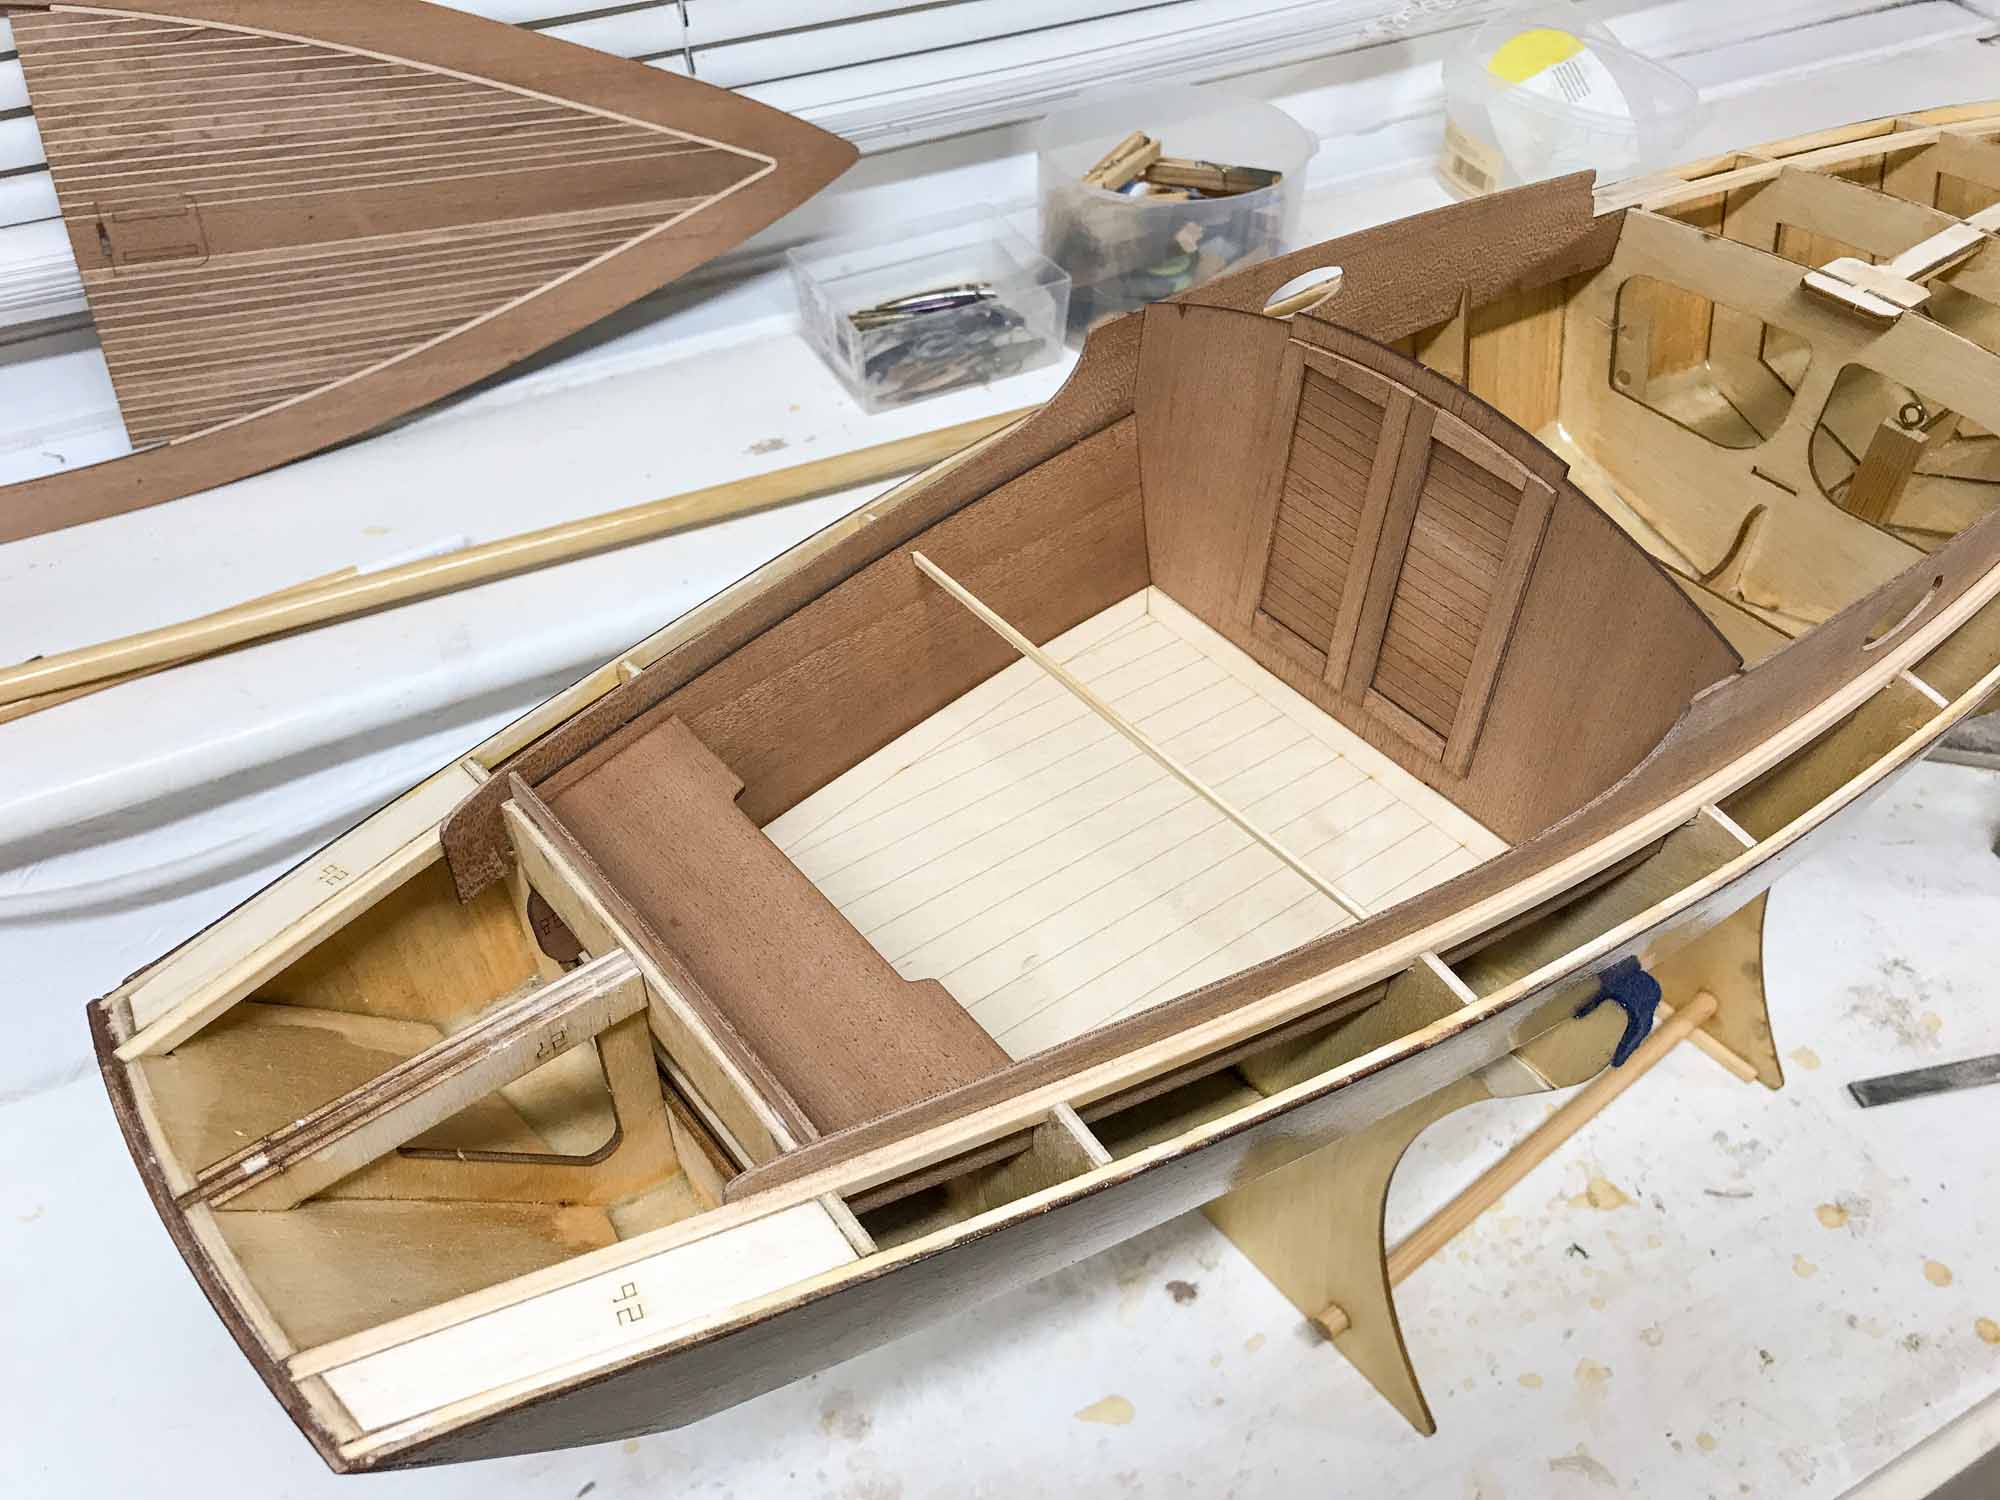
Bella's Cabin


Dry fitting the cockpit


The underside of the deck received was given a coast of West epoxy, this was allowed to cure before the deck was fixed in place with further use of West Epoxy.


A fillet of West Epoxy was run around the underside of the corner of the deck and hull, this will ensure a good joint and seal. The deck edge can then be sanded.


Wednesday, January 25, 2023

Radio Installation


There's no advice in the instructions about how to install the receiver, batteries and switch. Some thought is needed.


Tuesday, January 24, 2023

Bella - sails

The material supplied with the kit for the sails, is very lightweight as used on a spinnaker. So have decided to make some from a heavier weight dacron.

SOFT WHITE SAILCLOTH SAIL CLOTH DACRON BOAT YACHT POLYESTER COVER SCW | eBay

The company sells a variety of sail material - the crispy version is suitable for larger boats. The material arrives folded and the creases iron out on the soft version - its a bit more a challenge to remove all the creases in the crispy version.


The method of construction is the same as used on the Suhaili model, by using double sided tape and ironing. The sails are single panel but do have a curve of 5mm formed in the mainsail luff, which does give the sails some shape.


Sunday, January 22, 2023

Bella - Making the hull


The frames and keel were initially glued together using "superglue" in two stages. the weights holding the frames down on the worktop, which is flat and the square ensured the keel was at 90 degrees. 


The panels were added one at a time and tacked in place using superglue. One tip I picked up from a German blog, glue some glass paper to the pads on clamps, then they don't slip off. Its important to ensure the side panels are pushed right down into the slots at the tops of the frames. The bottom panels needed a very fine trim to fit. The slot for the keel needed to be widened due to the modification/increase in thickness made the keel/fin.


Generally the hull is ok after being removed from the baseboard. At the bow the chine joint hadn't glued, so this needed attention with a couple of clamps and glue. Think a small piece of glass fibre tissue on the inside face with increase the strength in this area and stop the joint breaking. The plan is to create a epoxy fillet on the inside of the chine joint.

The bow is very fine and the wood is end grain, so vulnerable to damage. So will look at finishing this square and then adding a small hardwood section to prevent damage to the hull.


 A short piece of 3mm thick acrylic has been fixed near the bow. This is for the eye that the jib will attach to. The eye has a M3 thread and once the deck is on, this will be drilled and tapped to provide a secure fixing.